After the hardware with the ADC, voltage supply, geophone and termination of the geophone was setup, the hardware was transferred from the breadboard circuit to a prototyping perf board. Even though this is still a very simple and rough construction, far away from a professional multi layer circuit board, the results are quite good and close to the optimal values of the ADS1262 mentioned in the data sheet. Equipped with the protoboard, the seismometer can soon move into a casing as the next step.
Hardware
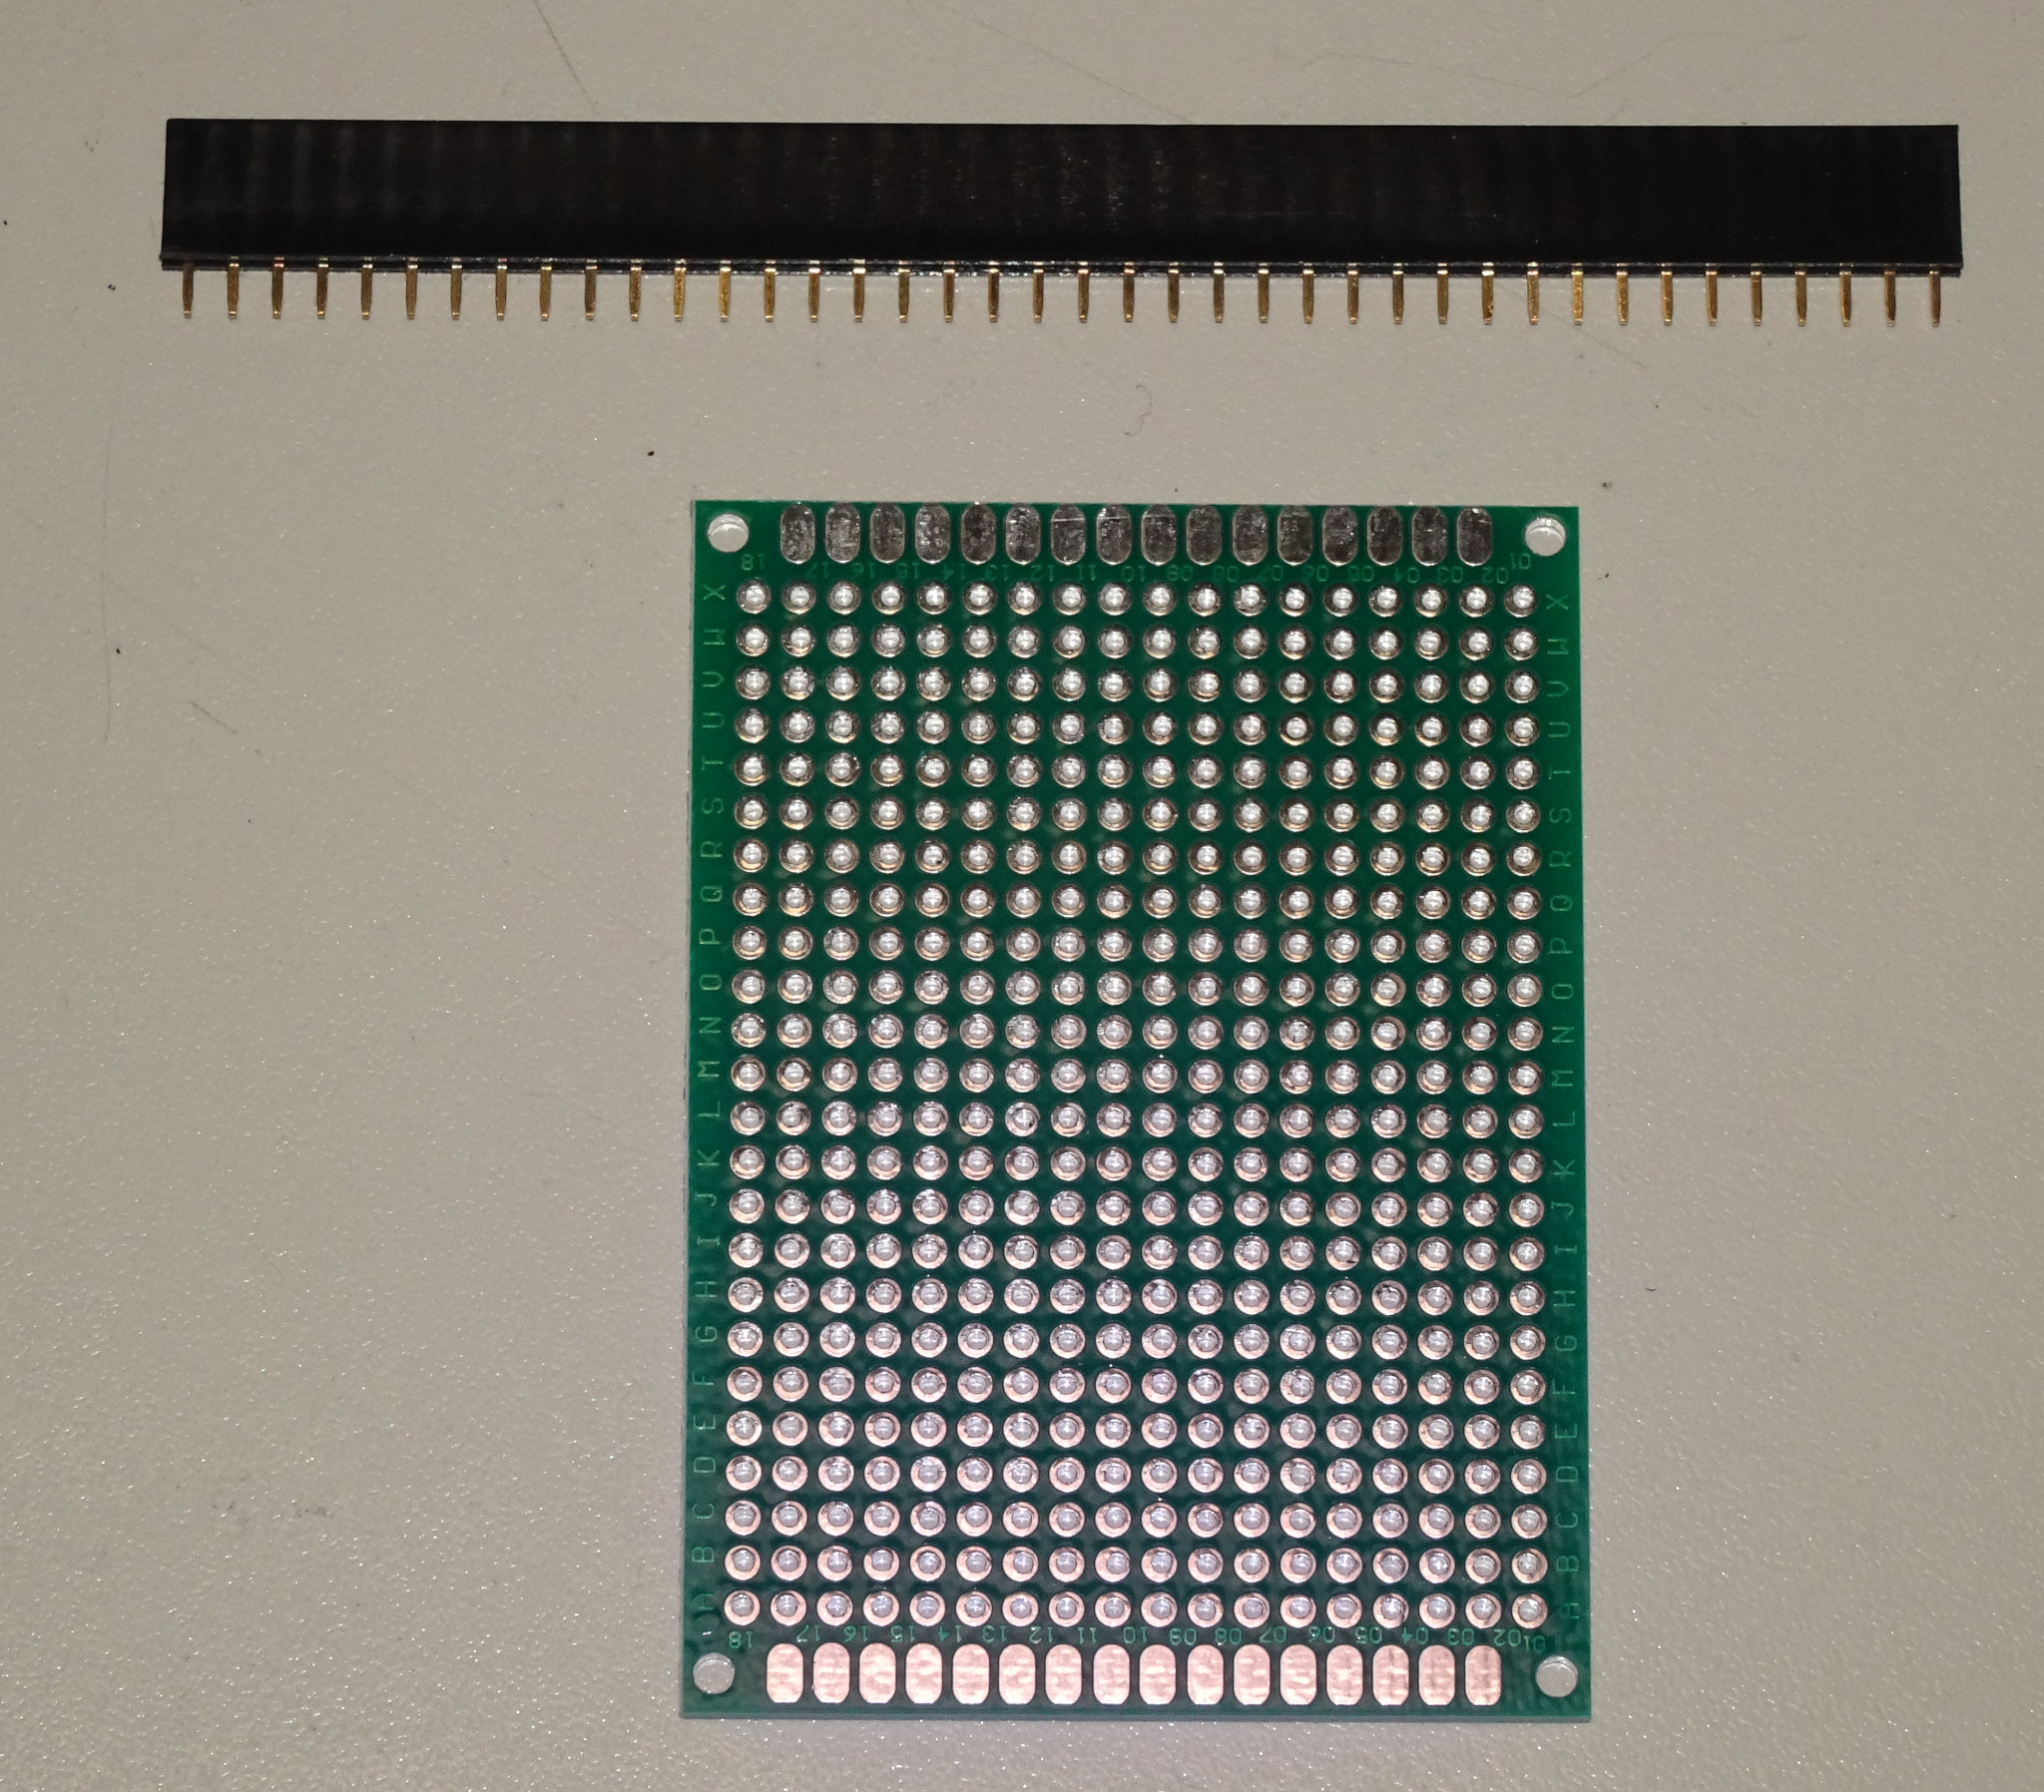
Empty prototyping board
This is the empty prototyping board with header connectors, which was used.
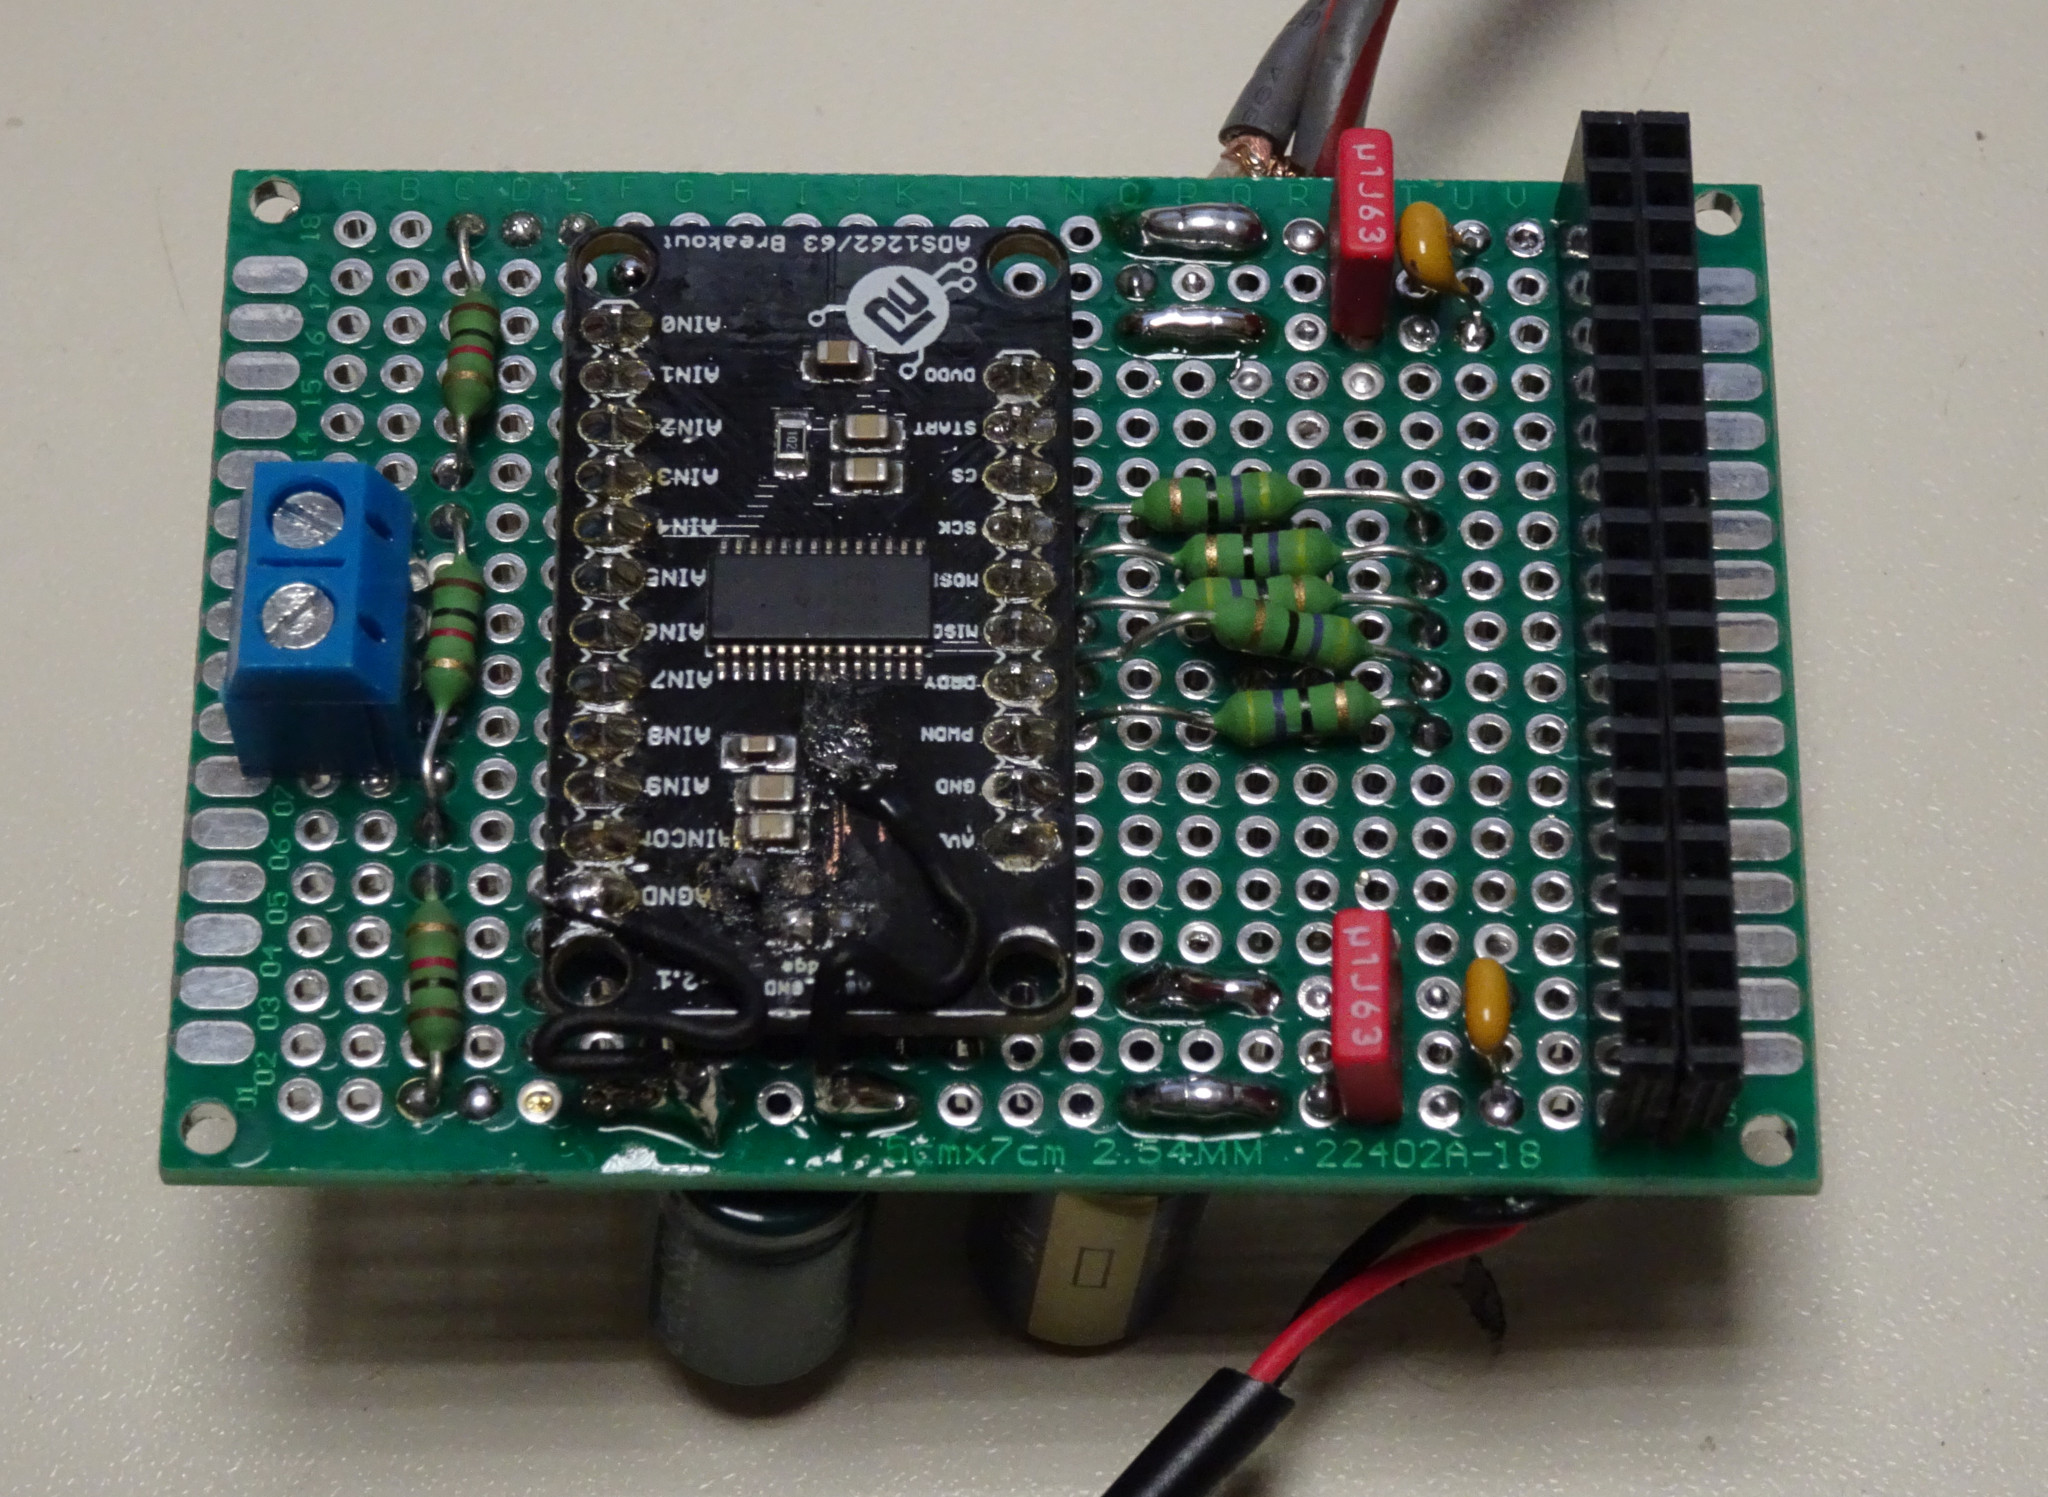
Prototyping board after soldering
The prototyping board, here a version with the old termination 1 kΩ shunt, is not very elegant, but efficient enough.
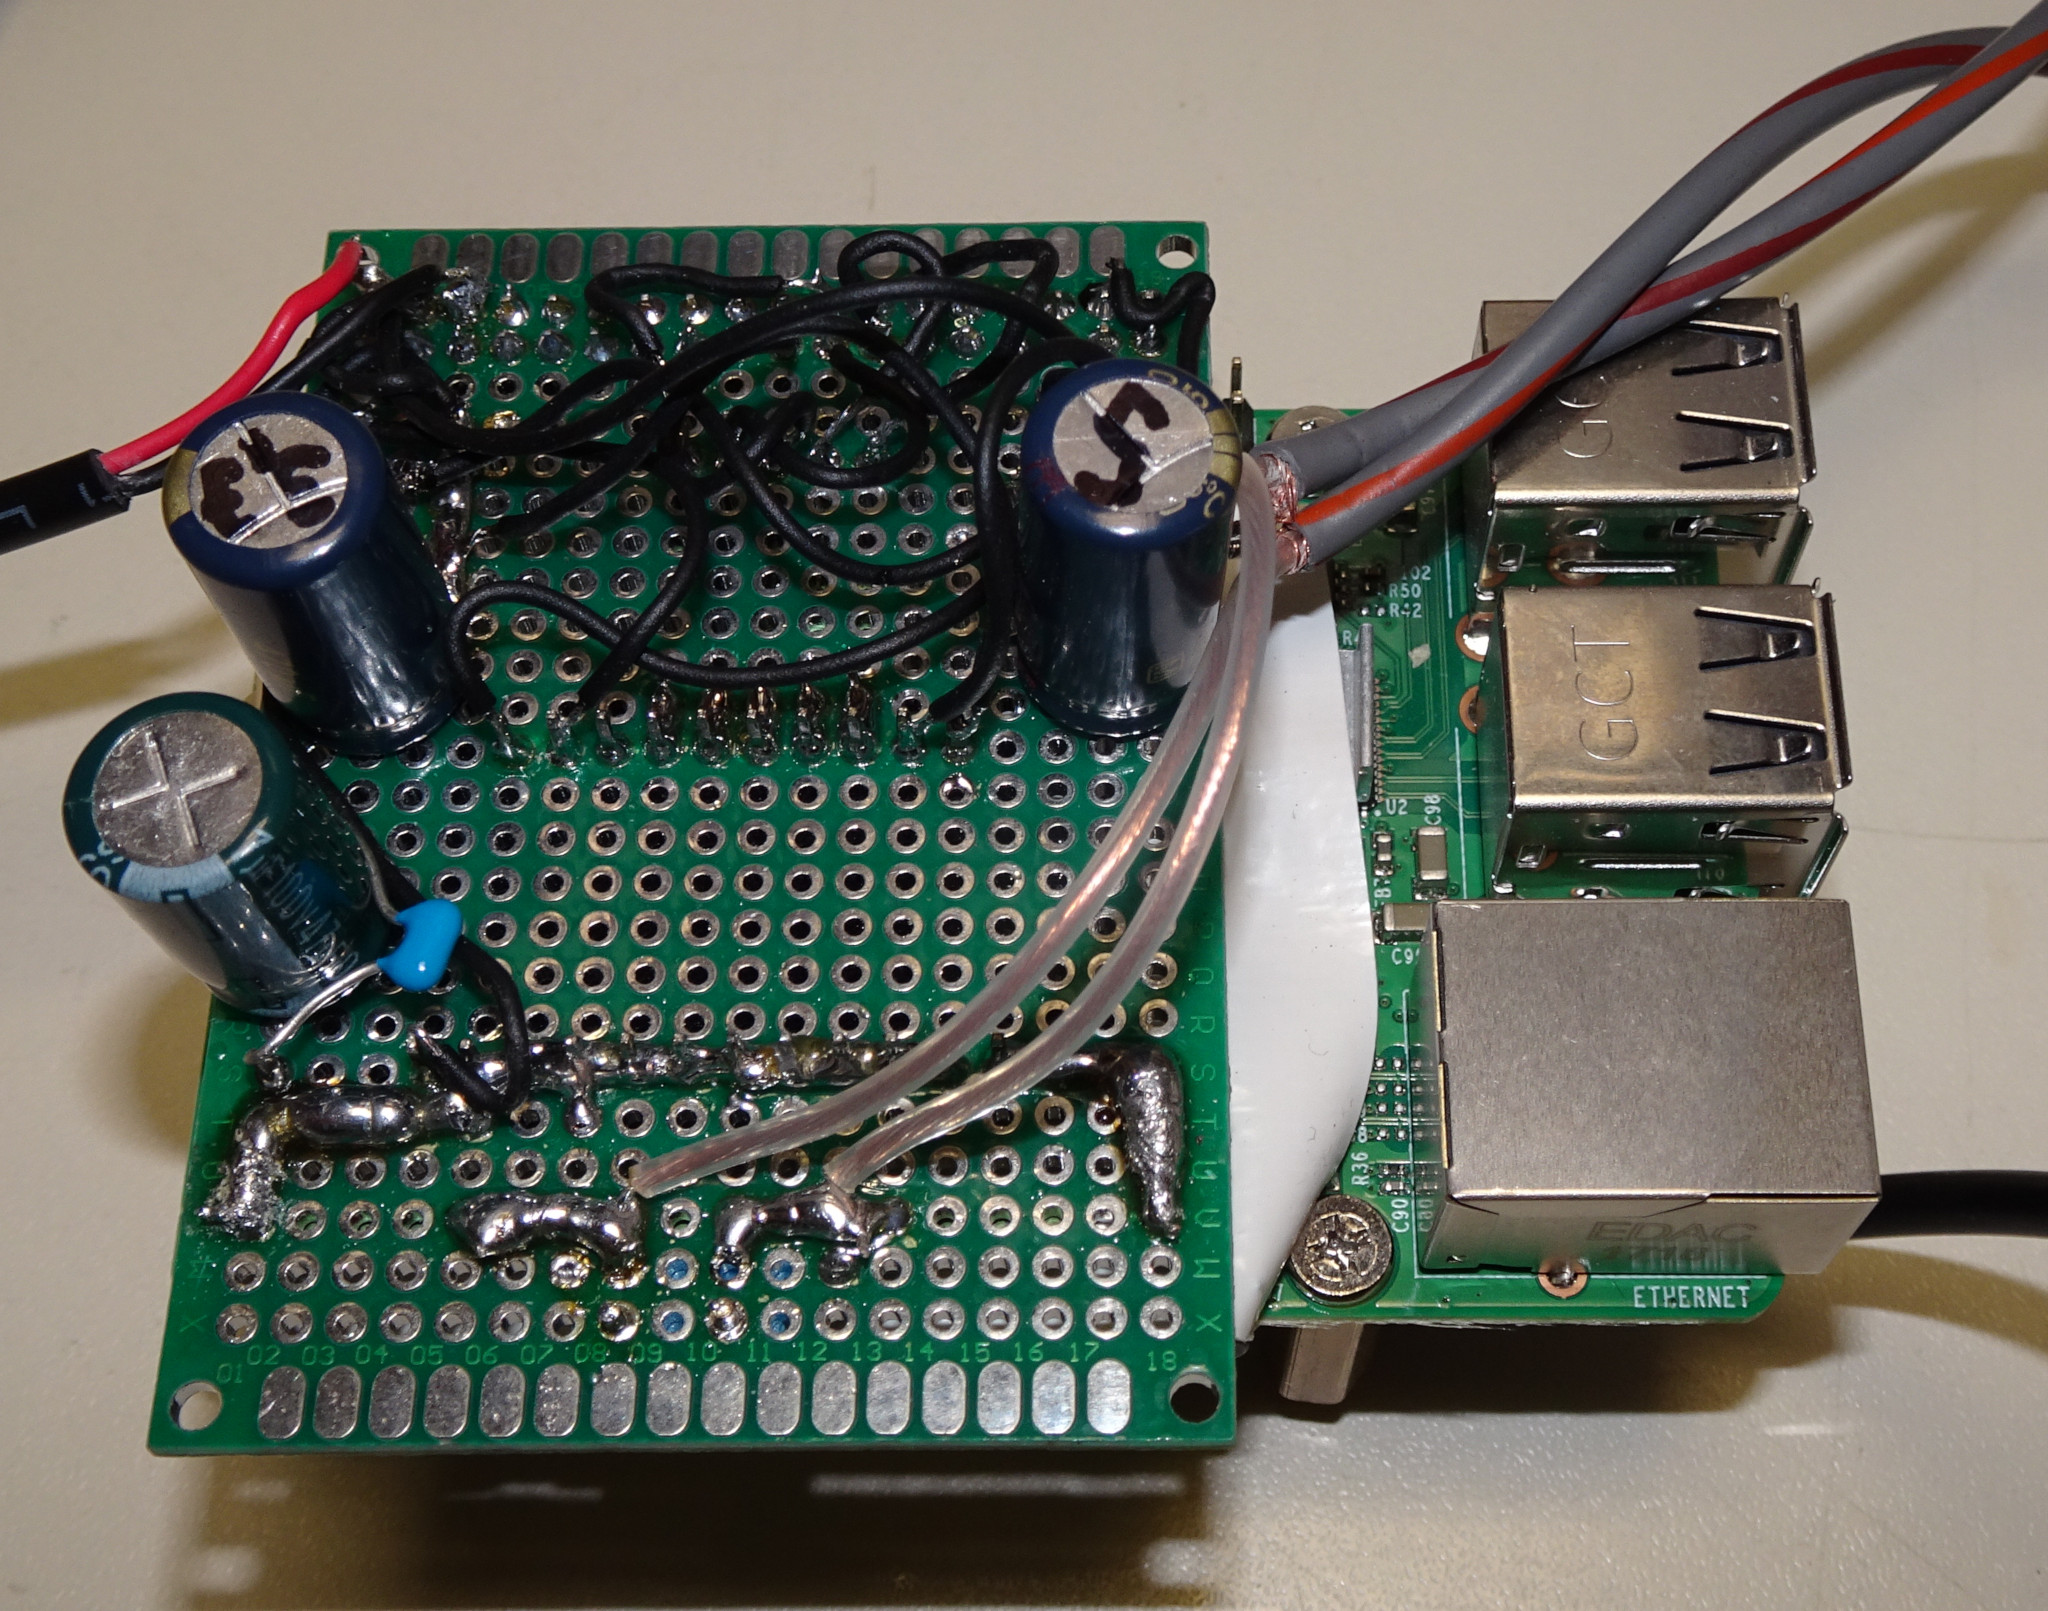
On top of the Raspberry Pi
The prototyping board sitting on top of the Rapsberry Pi.
Leave a Reply
You must be logged in to post a comment.