Before installing the seismometer in the ground, a housing must be prepared. Here a small waterproof case with a transparent roof was used. The transparent roof is fixed with 4 stainless steel screws. The housing requires some holes for cable glands, geophone clamp screws, and screws that secure the housing to a spike. All holes were drilled with a CNC milling machine. A spacer has also been milled which is used to provide some clearance between the housing and spike and to adjust the horizontal position of the housing with a few small washers. A clamp for fixing the geophone was also milled. For the inputs of the power cable and the network cable, watertight cable glands were used at the bottom of the casing to prevent water from entering the inside of the housing. The Raspberry Pi is fixed with a few small spacers, one spacer is screwed into an existing thread on the bottom of the housing. Finally, a small water scale is glued to the bottom of the casing in order to check the horizontal position.
Hardware
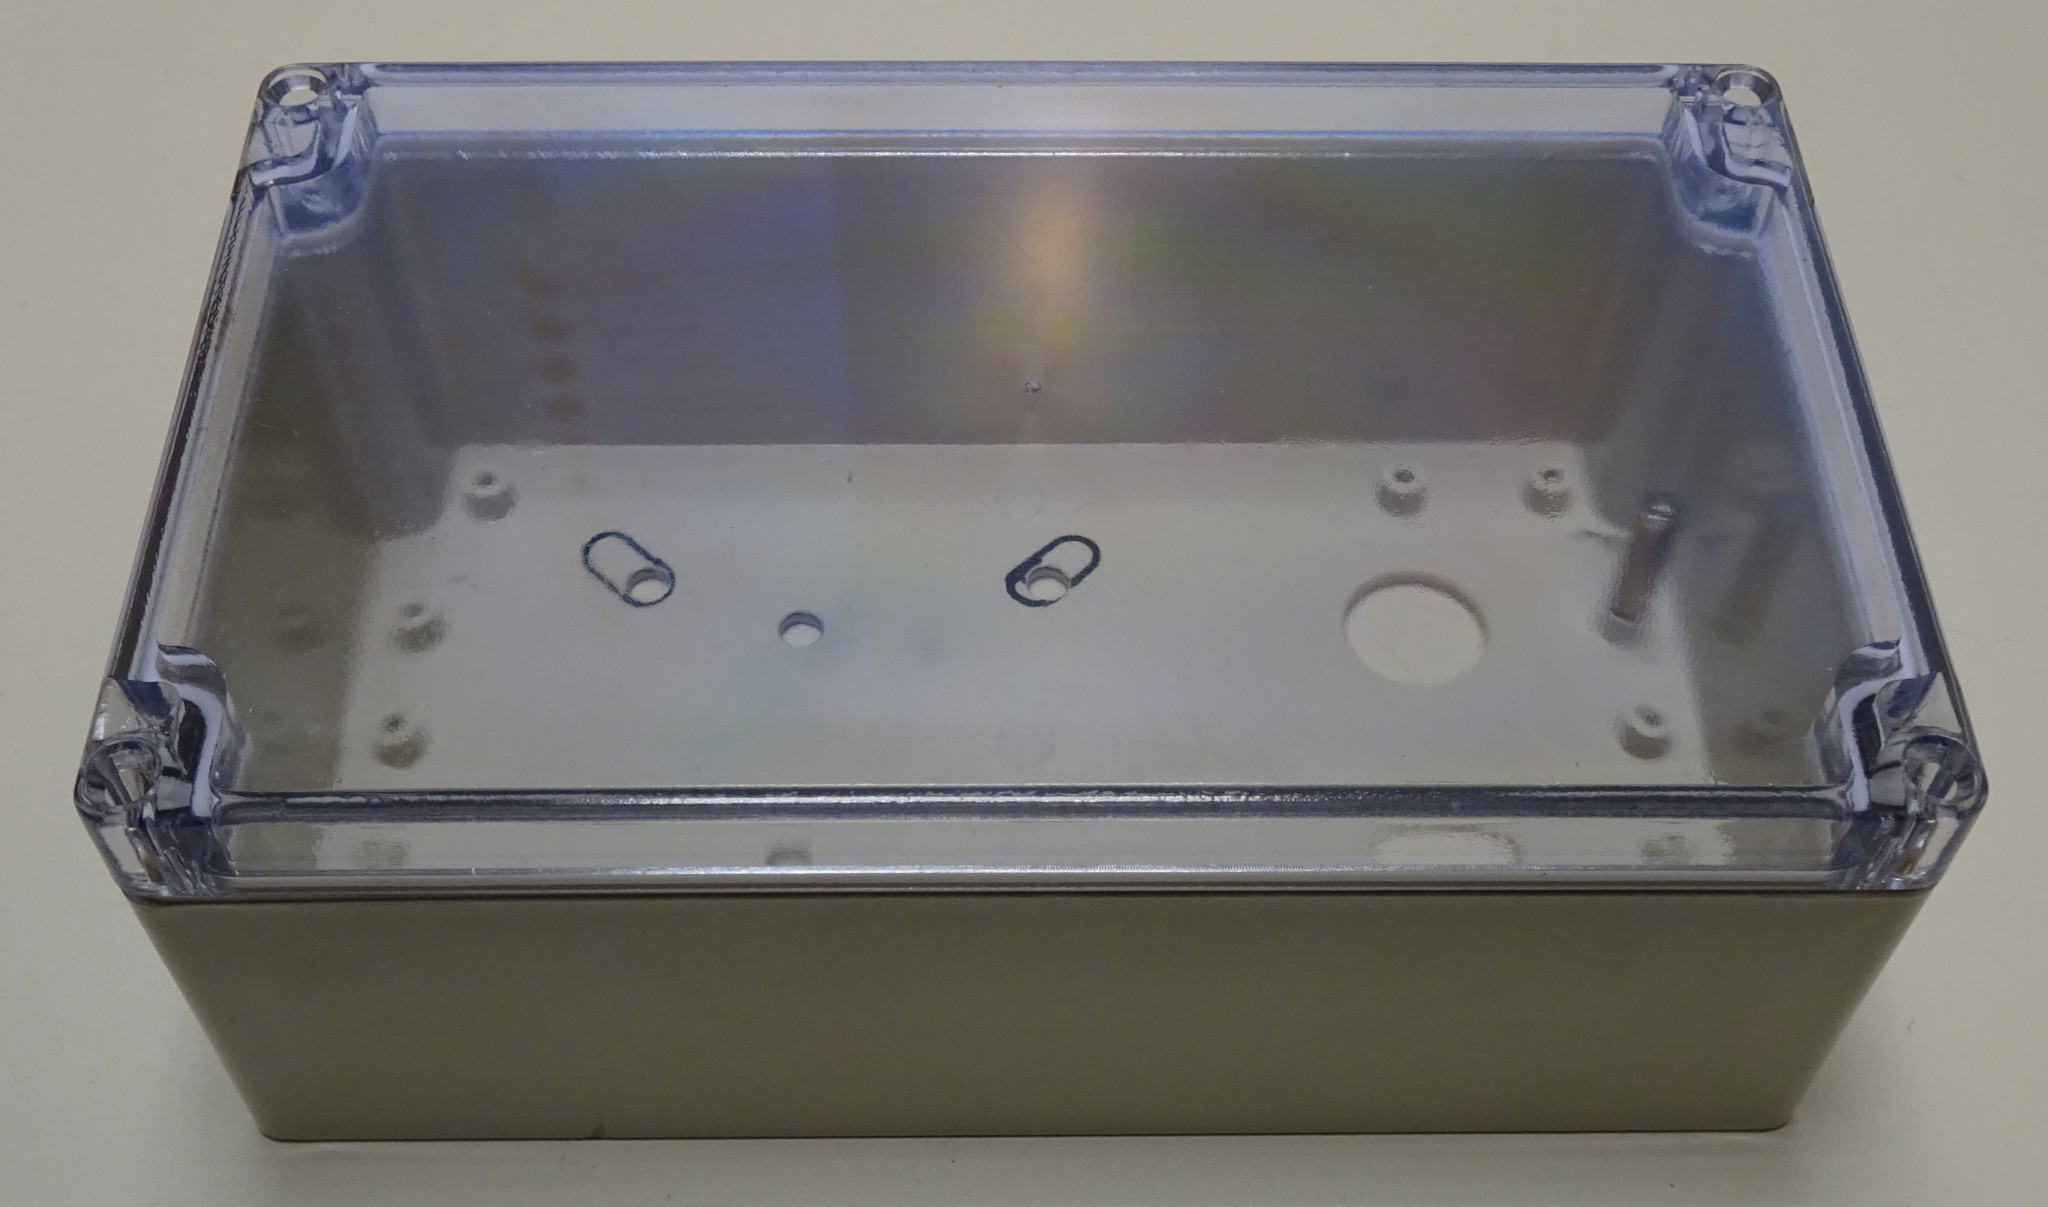
Top of empty casing
A small waterproof case is used. The transparent roof is fixed with 4 stainless steel screws. The holes in the bottom were milled for cable inlets and screws.
Bottom of empty casing
At the bottom of the casing, all holes can be seeen clearly.
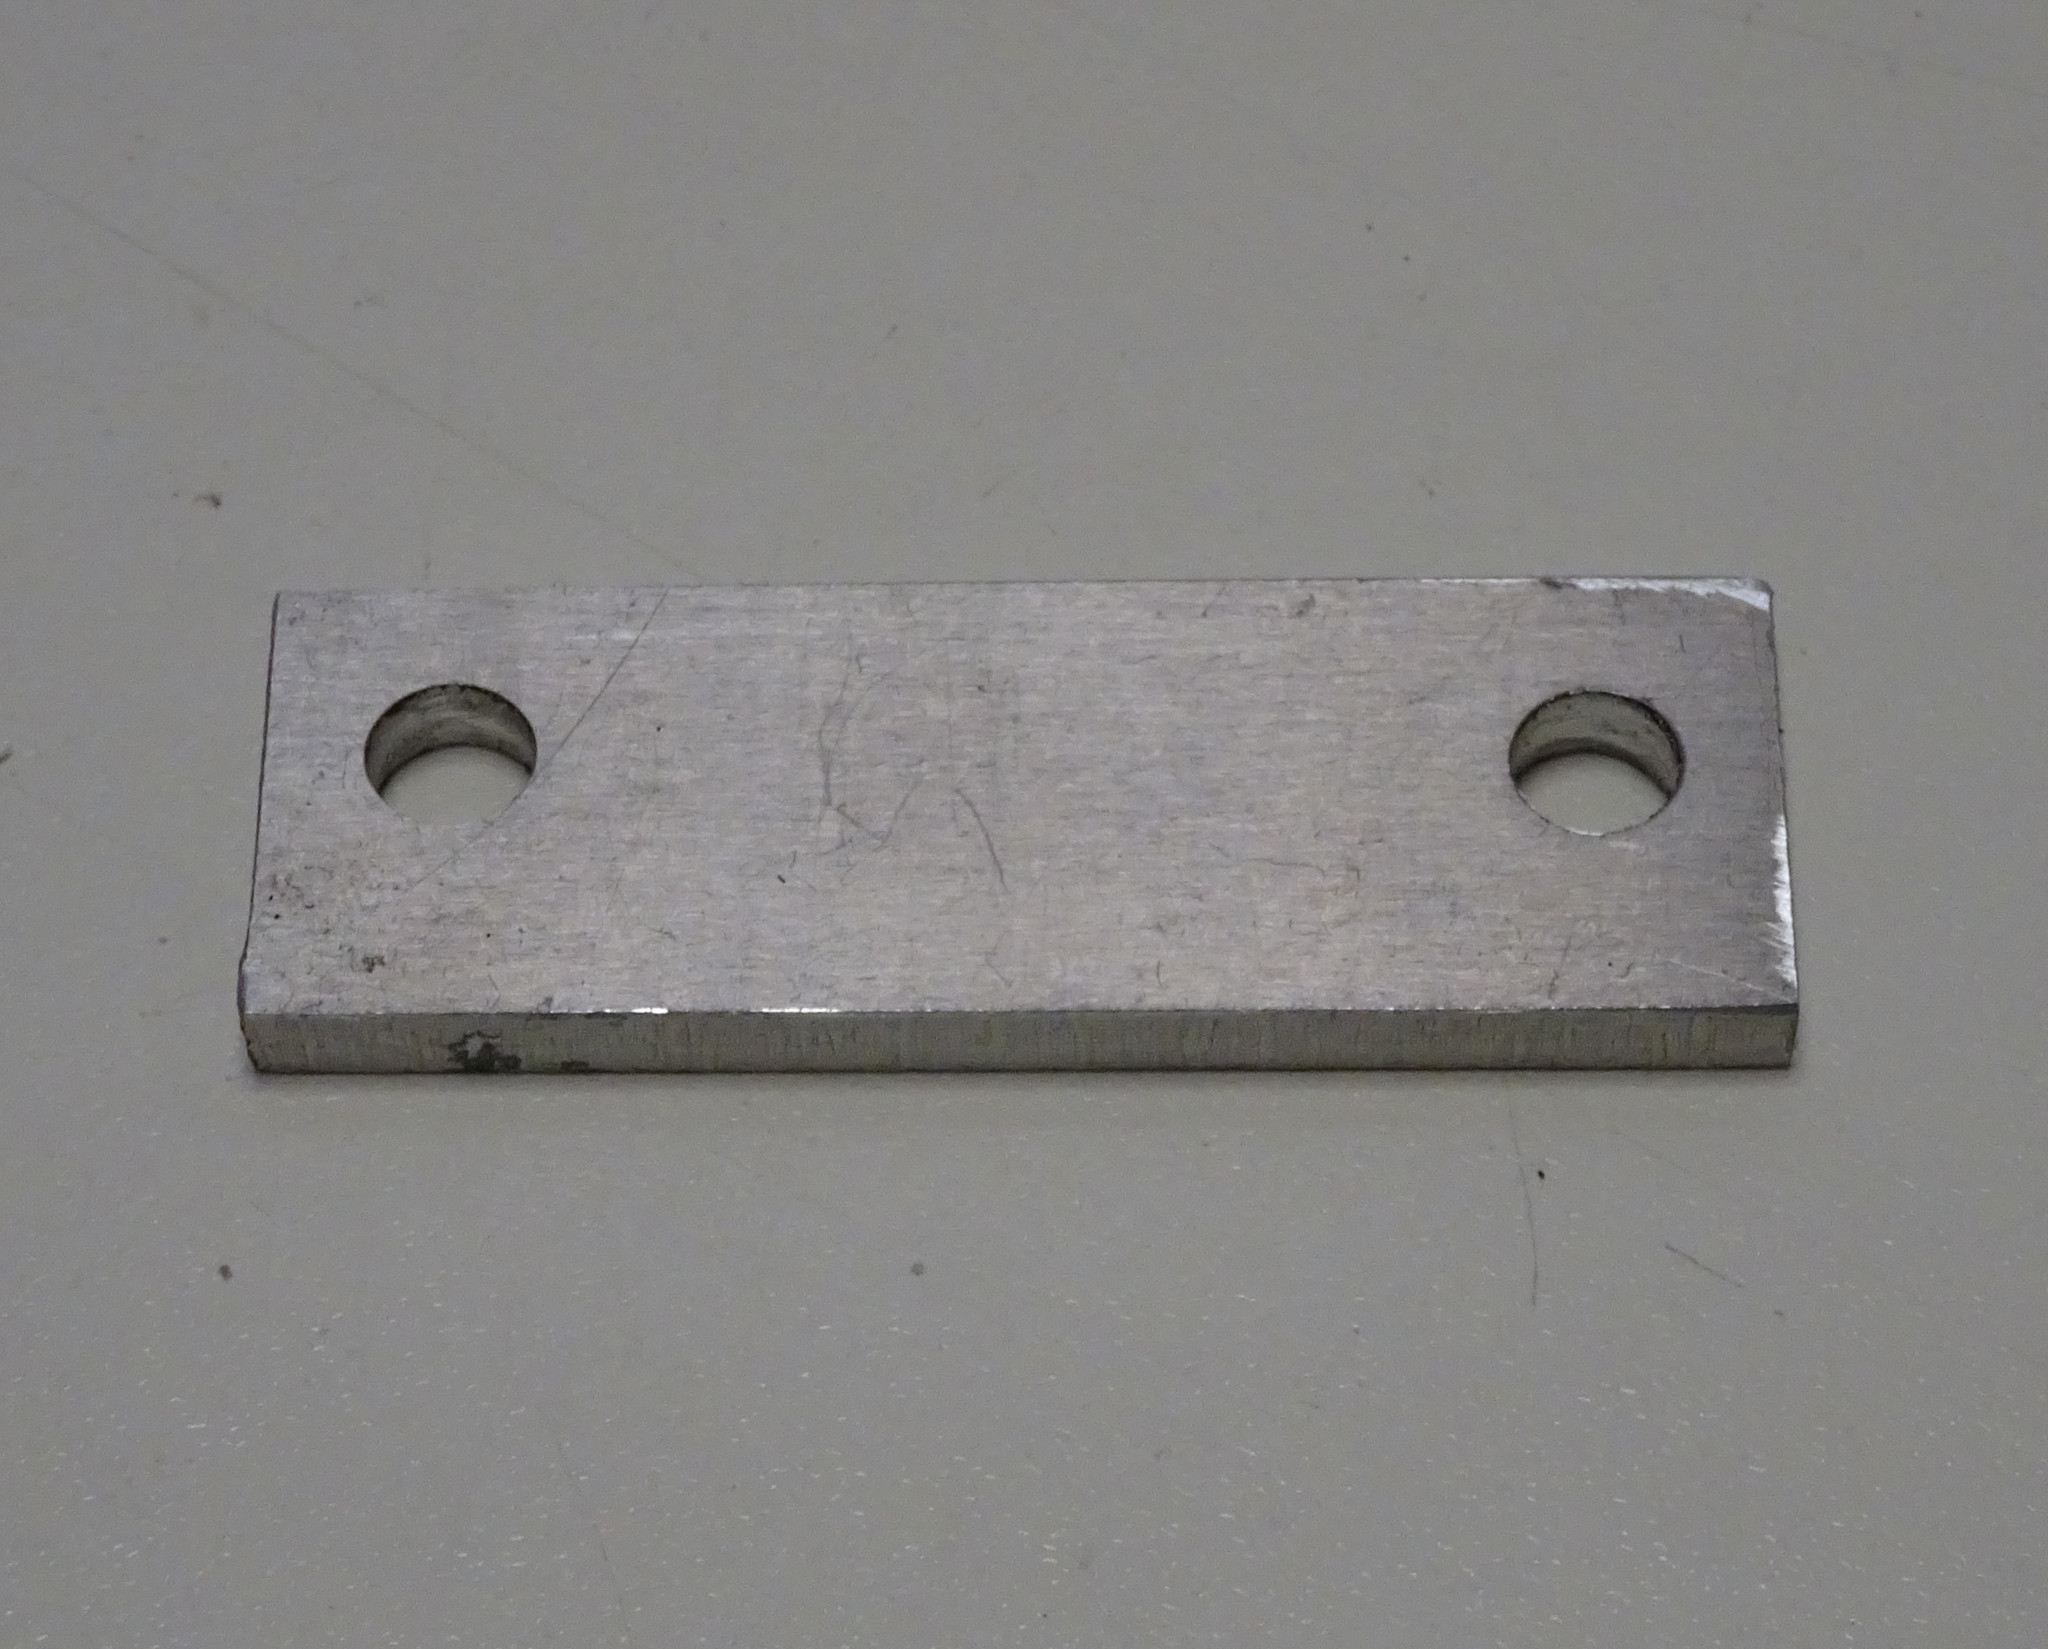
Spacer
A milled spacer used to provide some clearance between the housing and the spike and to adjust the horizontal position of the housing with a few small washers.
Clamping plate
The milled clamping plate for fixing the geophone.
Clamping of the geophone
The geophone is fixedd by the clamping plate and two stainless steel screws.
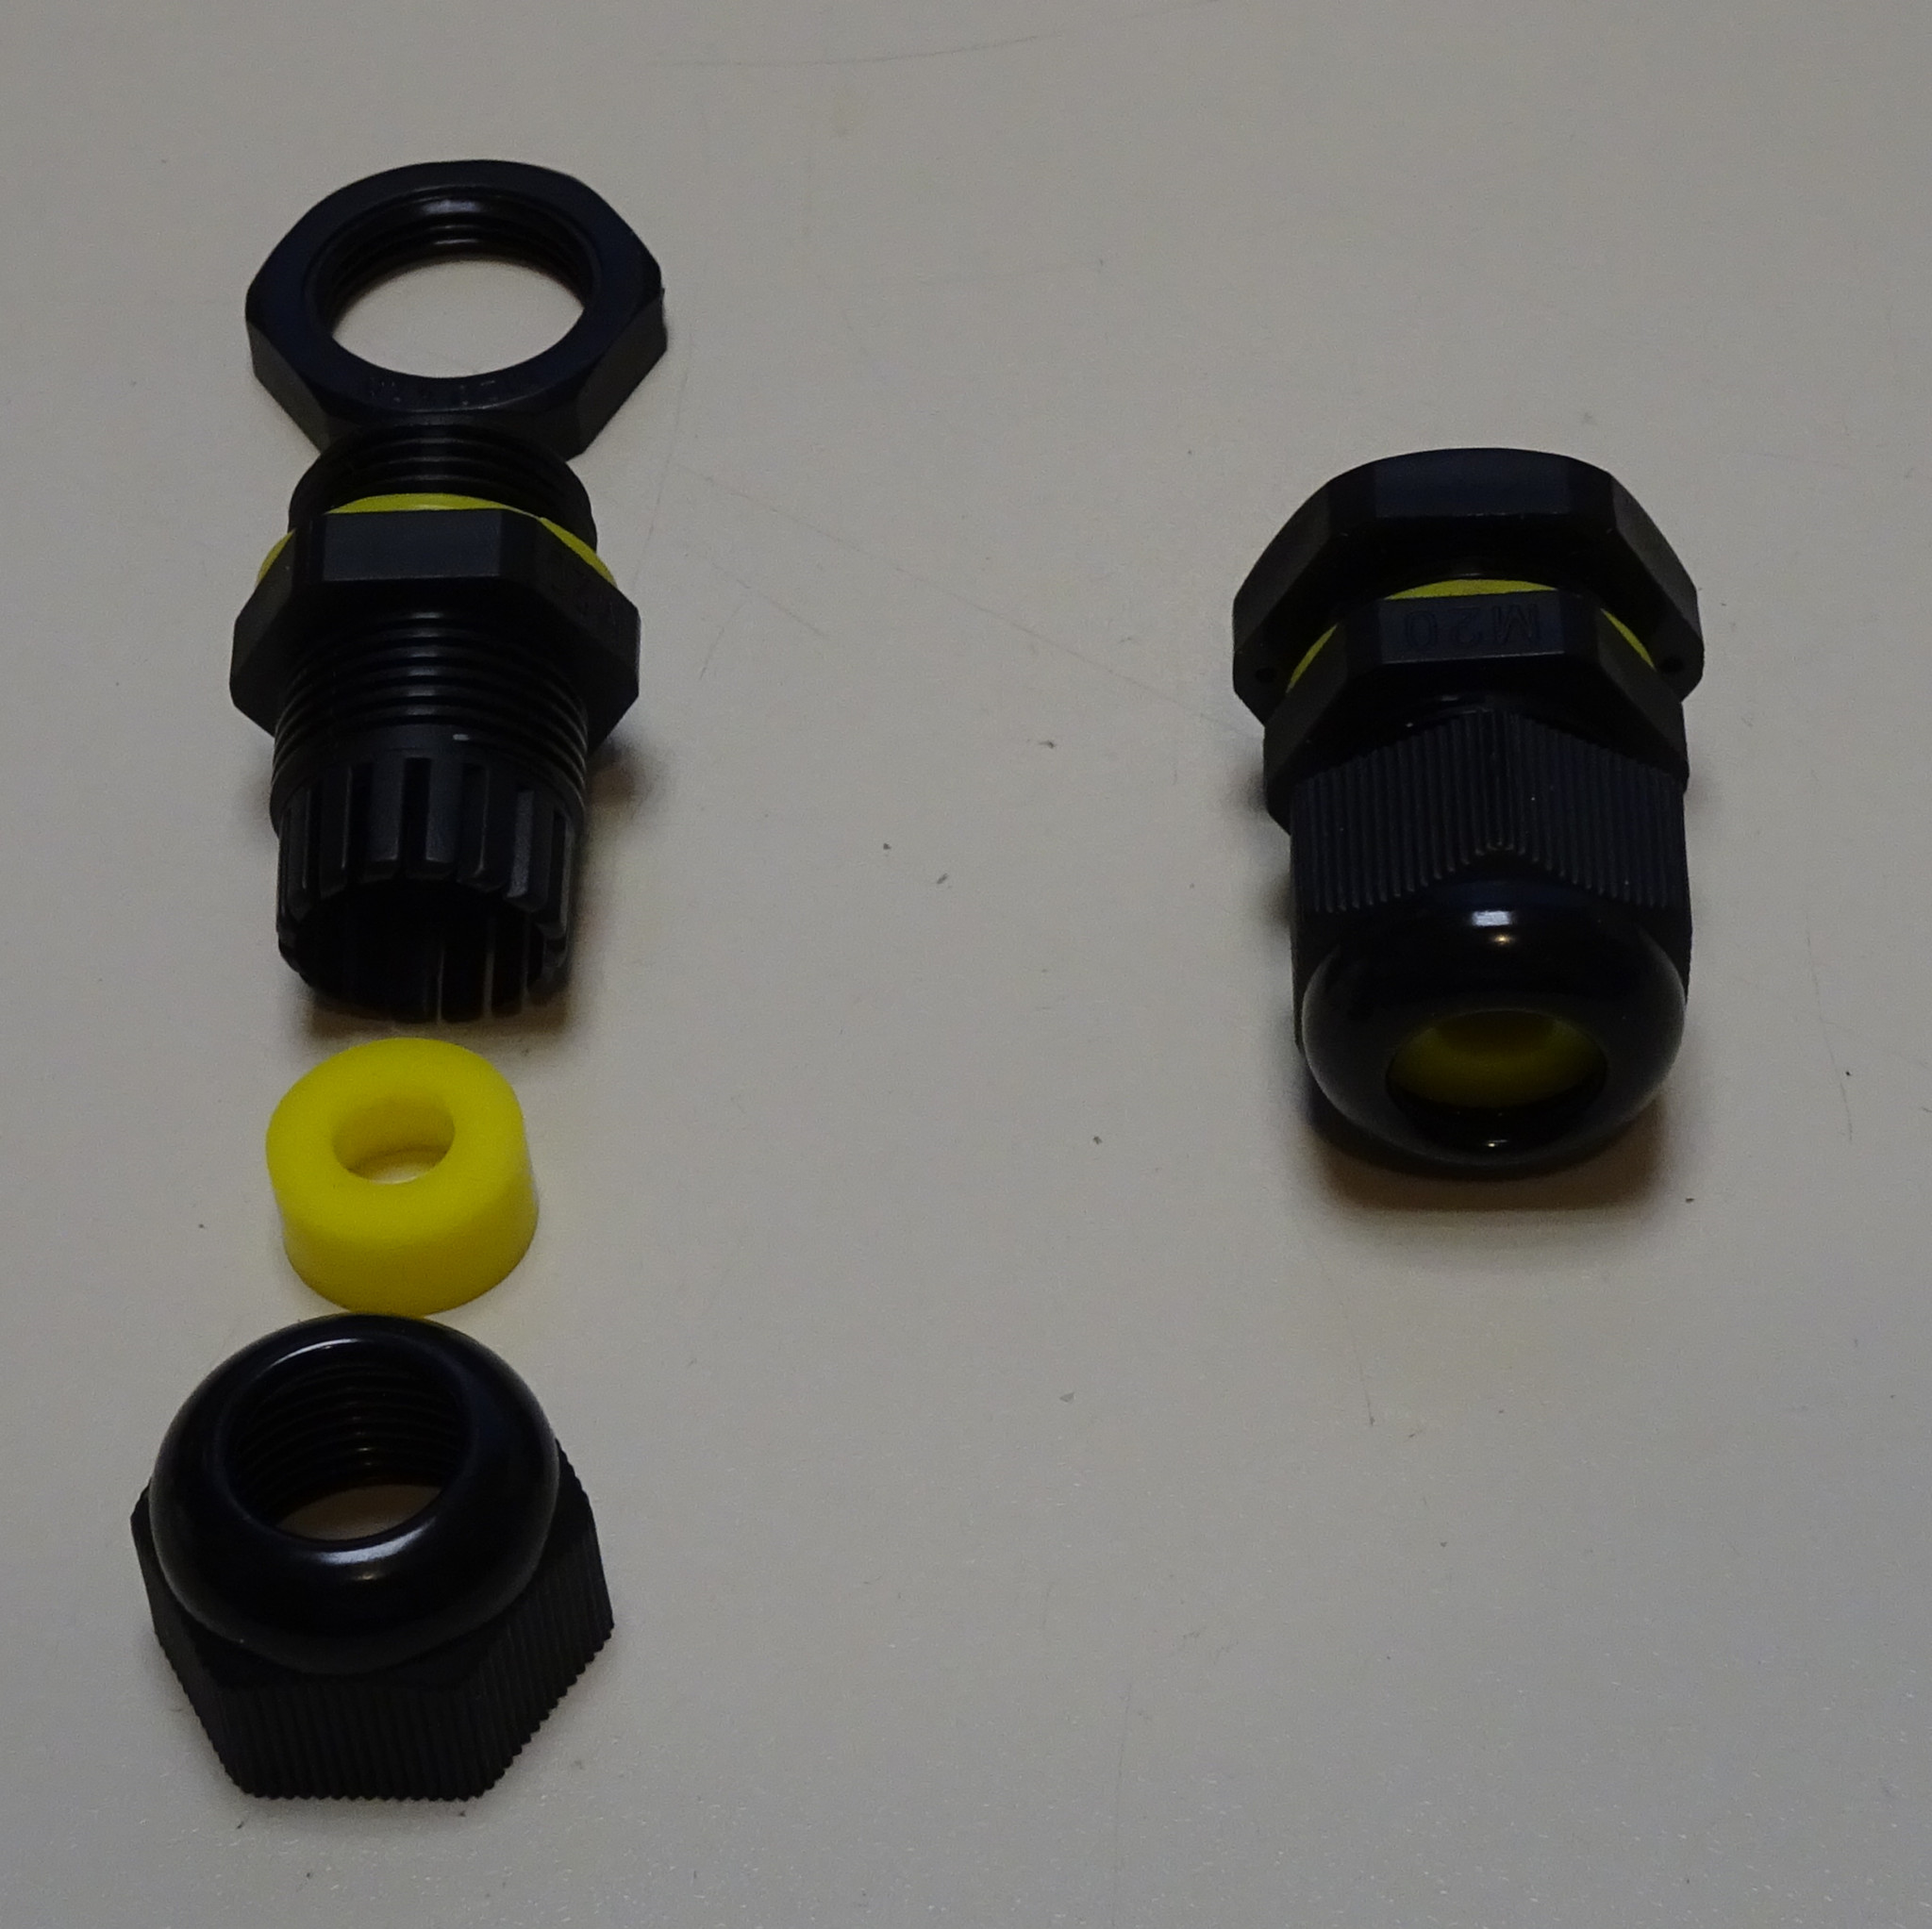
Cable glands
For the inputs of the power cable and the network cable, watertight cable glands were used.
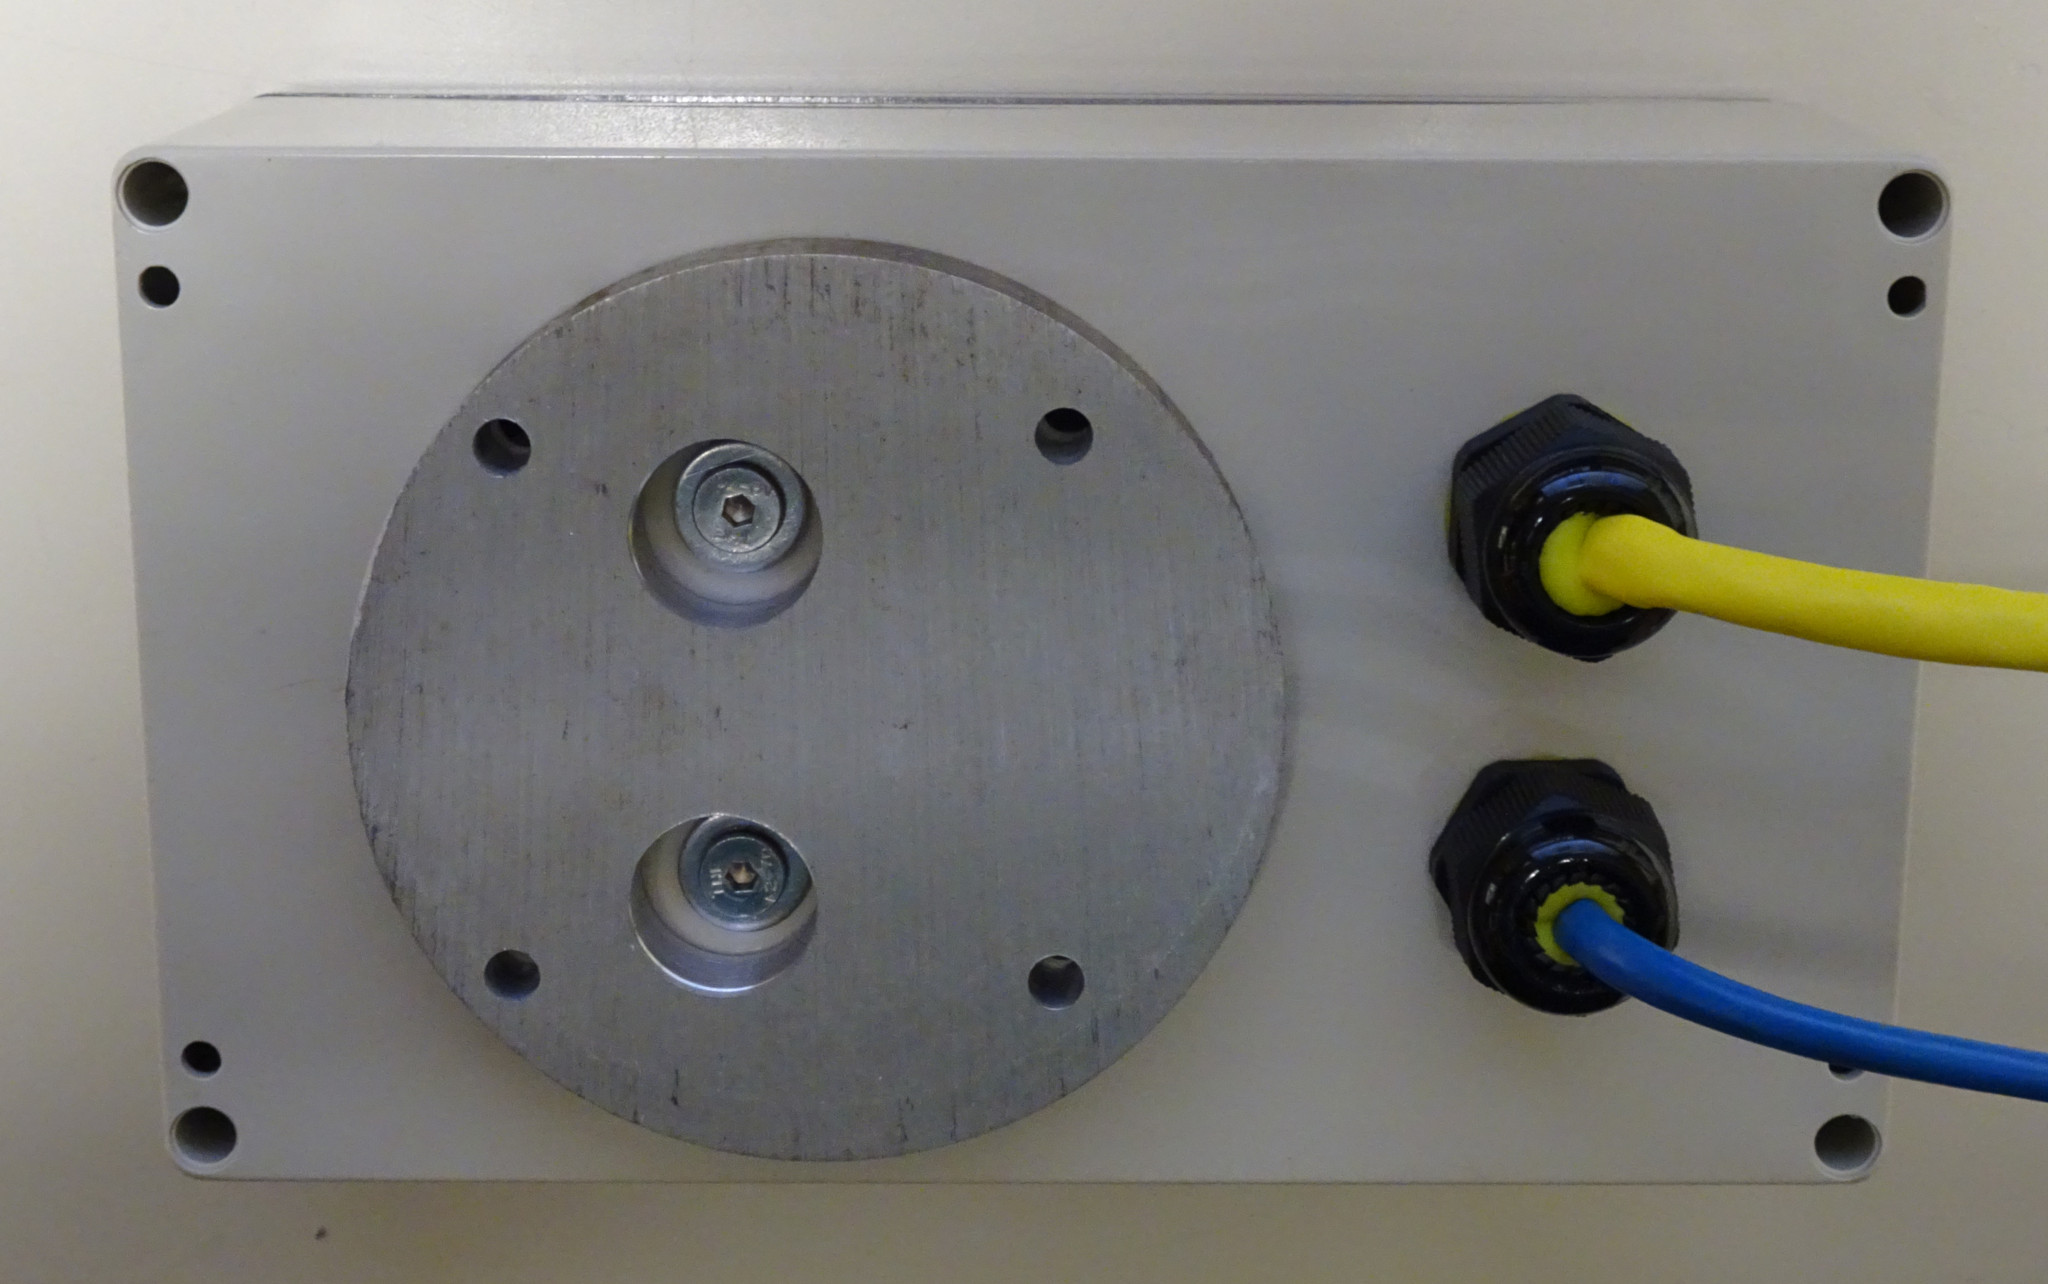
Fixed cable glands from outside
The bottom of the casing with the cable glands and the two screws for fixing the geophone.
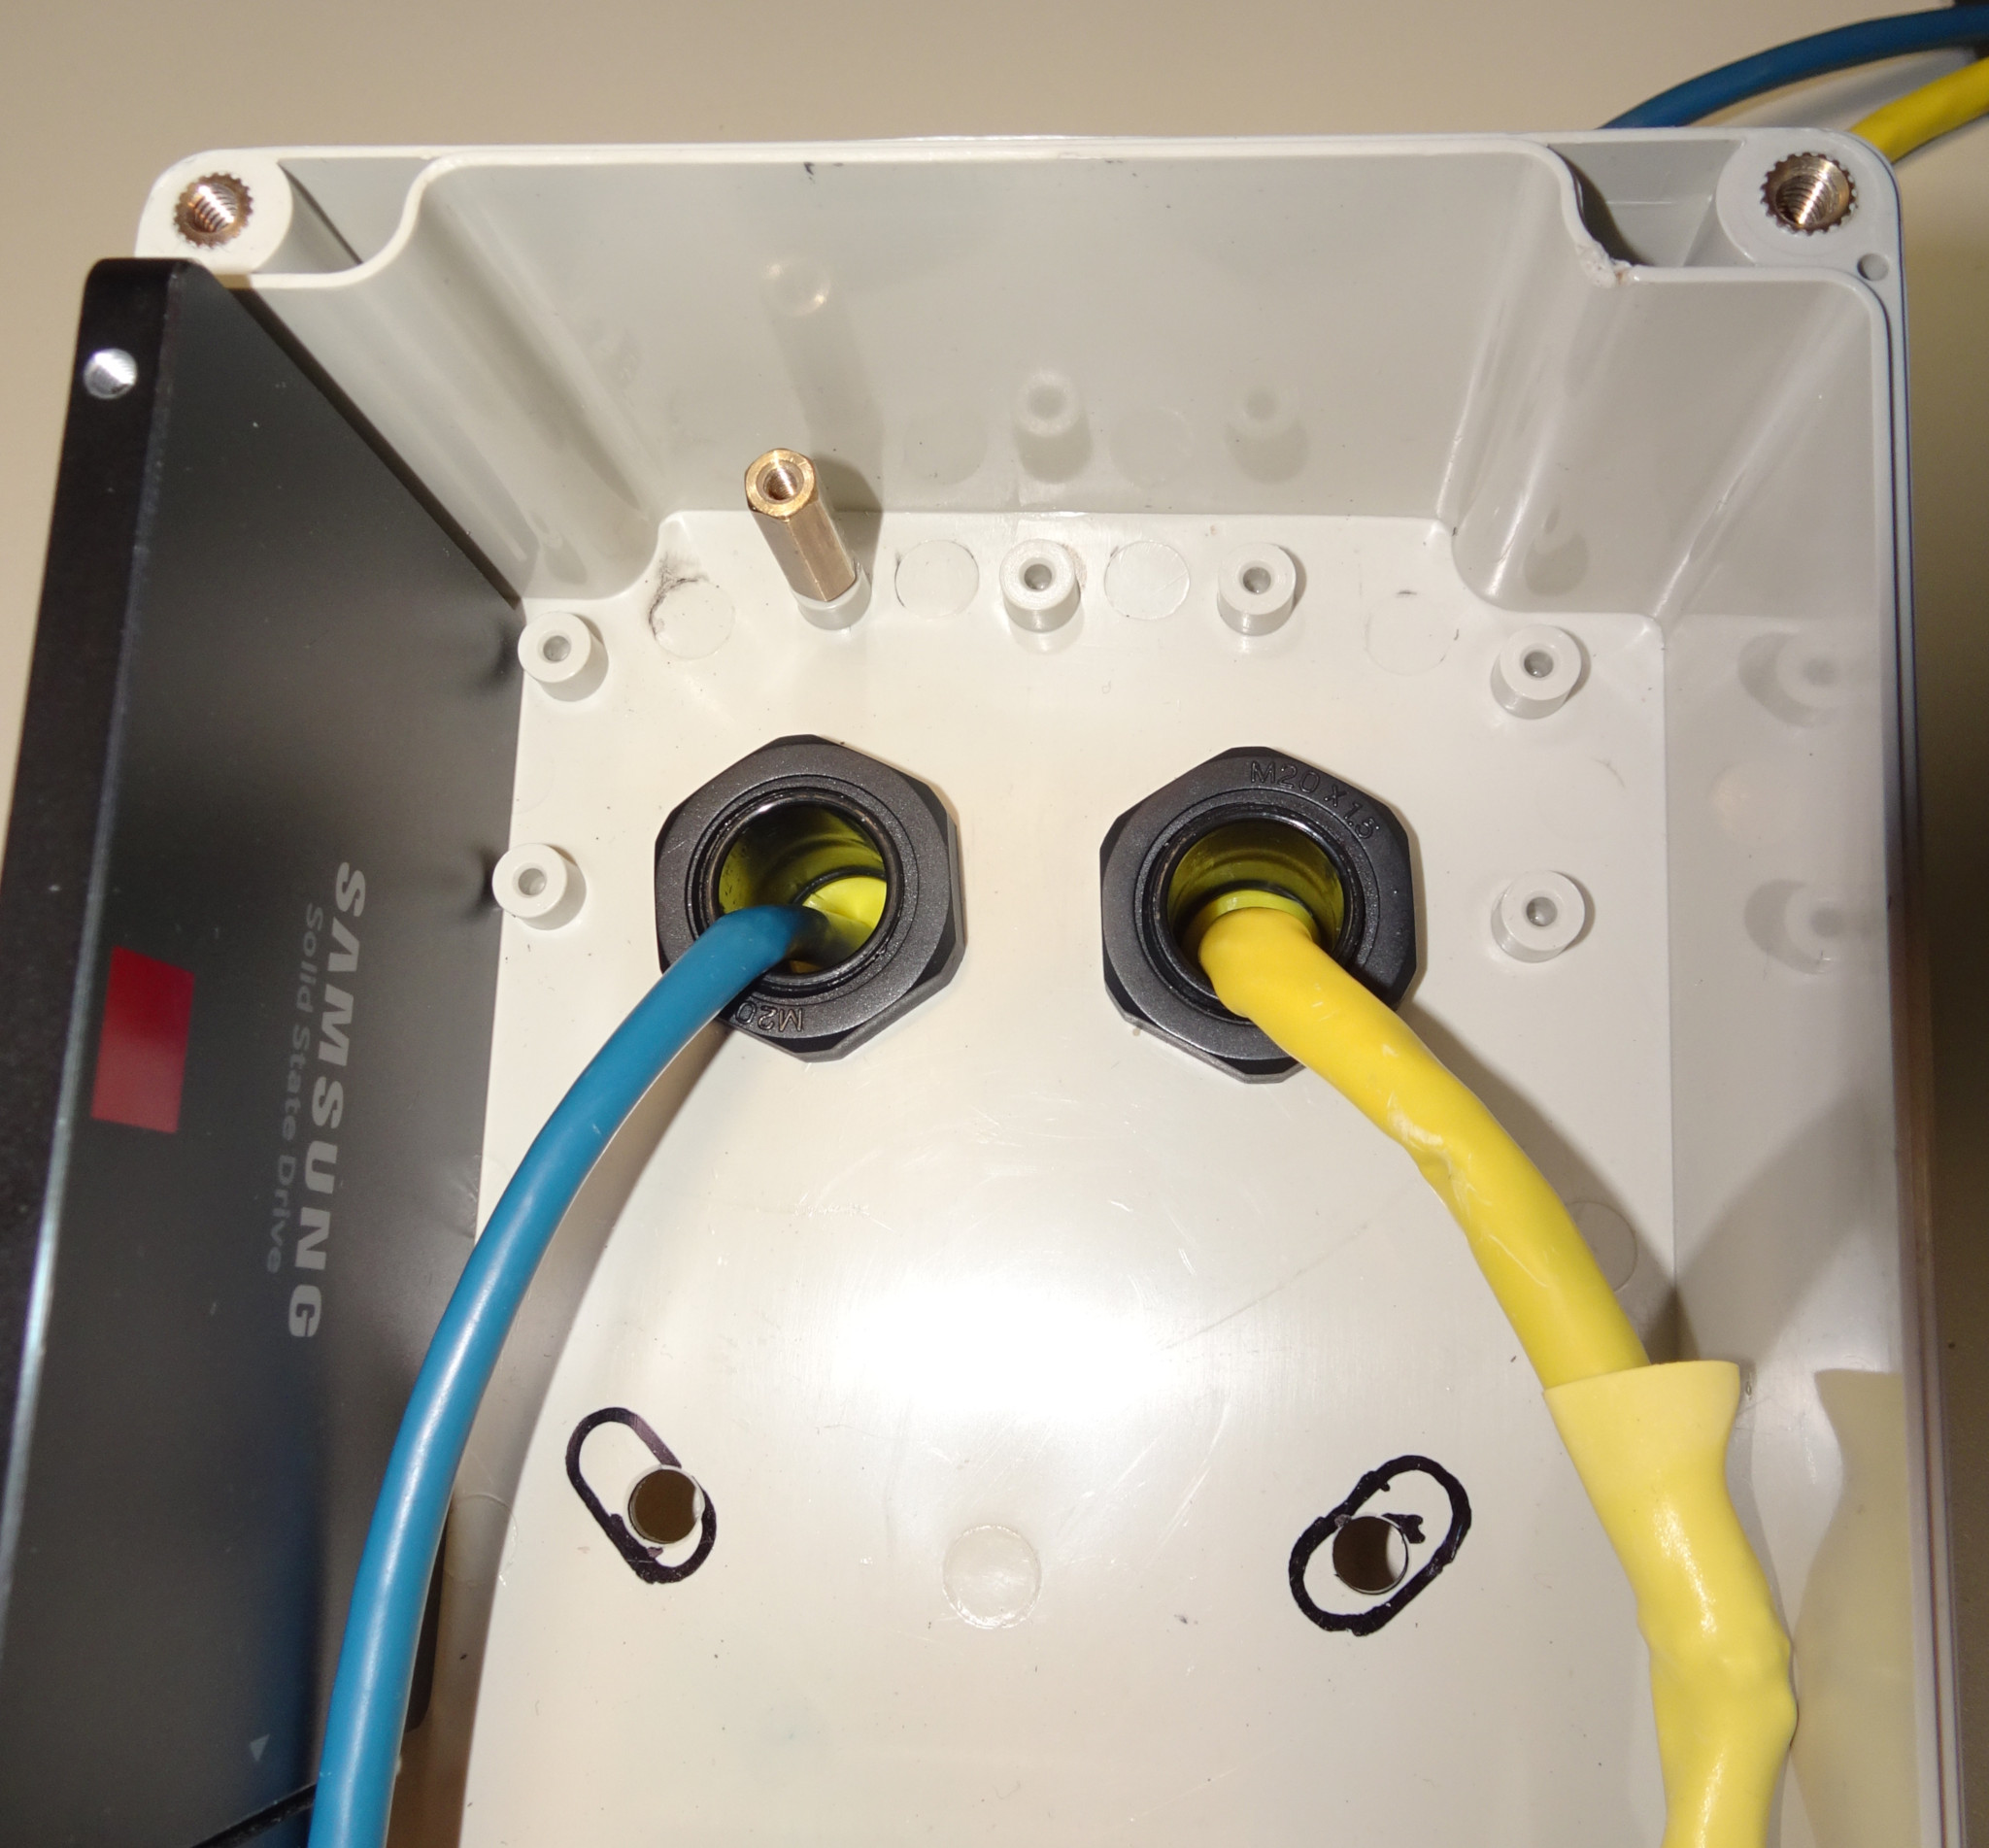
Fixed cable glands from inside
The inside of the casing with the cable glands.
Bottom of casing with spacer
The bottom of the casing with the cable glands and the spacer.
Casing with Raspberry Pi, SSD and geophone
The inside of the casing with the Raspberry Pi, SSD and the geophone. The network cable is connected, SSD is plugged in and the power supply connected.
Libelle inside casing
A small water scale is glued to the bottom of the casing in order to check the horizontal position.
Final setup of the casing
The final setup of the casing with closed housing roof.
Circuit diagram
The circuit diagram with setup DRDY pin and the new termination of the SM24 for the pcb protoboard used inside the housing.


Leave a Reply
You must be logged in to post a comment.